

 Austria
  Belgium (Dutch)
  Belgium (French)
  Croatia
  Estonia
  Estonia (Russian)
  Finland
  France
  Germany
  Greece
  Italy
Italy  Ireland
  Latvia
  Lithuania
  Netherlands
  Poland
  Portugal
  Slovakia
  Slovenia
  Spain
Spain  Sweden
  Turkey
 I’ve received my plant – what’s next?
Have you already found your favorite artificial plant from Green4Ever’s high-quality collection and are now eagerly waiting for it to arrive? Or maybe your beautiful artificial tree has just reached your doorstep and you’re ready to unbox it and give it a place in its new forever home?
To make sure your order arrives safely, we pack every product with great care. However, this means that some plants may need a little reshaping once they’re out of the box. Adjusting the branches and leaves helps them return to their natural look. Not every plant will need it, but those with fuller, fluffier foliage often benefit from a quick touch-up.
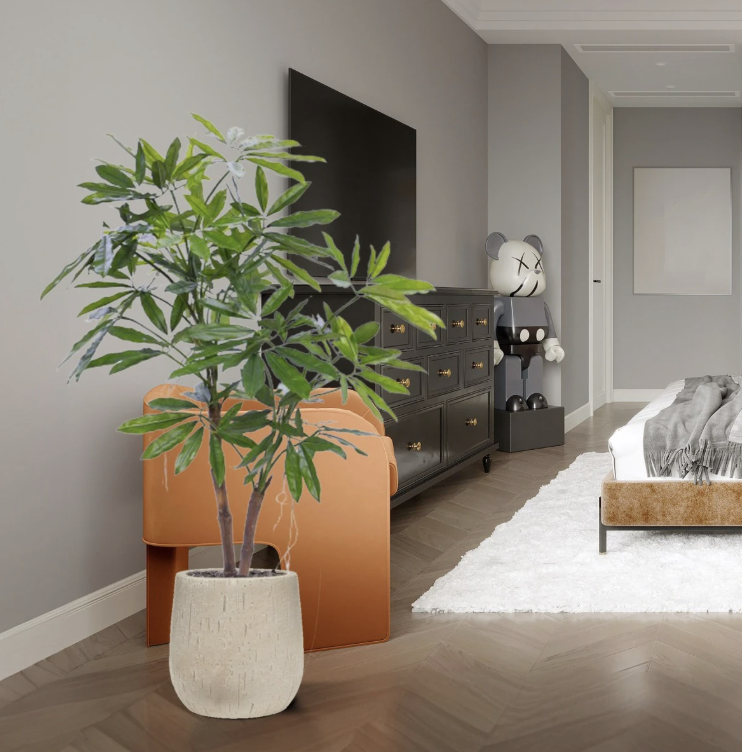
Artificial Philodendron (155 cm)
In today’s blog post, we’ll walk you through the simple reshaping process your new artificial plant might need after unboxing. We’ll share practical tips on how to do it step by step, what to keep in mind, and even touch on choosing the right planter or pot, plus how to fill it for the best look. Keep reading to find answers to the most common questions around this topic.
How to get your artificial plant back into shape after unboxing
Let’s start at the very beginning. As mentioned before, every product is carefully packed to protect it during shipping. Because of this, the branches and leaves that are normally spread out may be pressed together inside the box. This is completely normal, there’s nothing wrong with your plant.
A little adjusting is all it takes to bring it back to its natural shape. The process is quick and easy, and with just a few simple steps, your plant will look full and lifelike again.
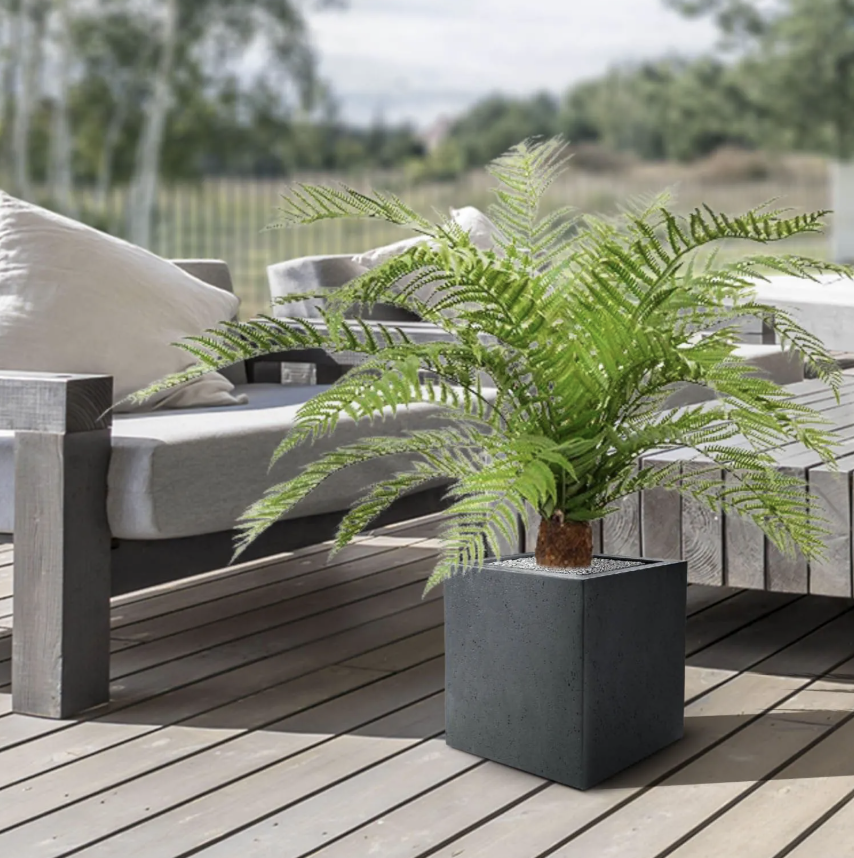
Artificial Alsophillia Fern (80 cm) UV
Reshaping your plant step by step
Start by taking the plant out of the box and placing it on a table or the floor where you have enough space to work. The process is simple and only takes a little bending of the branches and leaves to bring back their natural shape.
Begin with the larger branches, gently curving them from the bottom upwards to restore their flow. Don’t worry, you won’t break anything, and if you bend too far, you can always adjust again.
Once the main branches are in place, move on to the smaller ones to add fullness and volume. Finally, place the plant where it will stay and make any last small adjustments. Looking at it both up close and from a distance will help you spot any uneven areas. The leaves and branches often “guide” you naturally, so just reshape until you’re happy with the result.
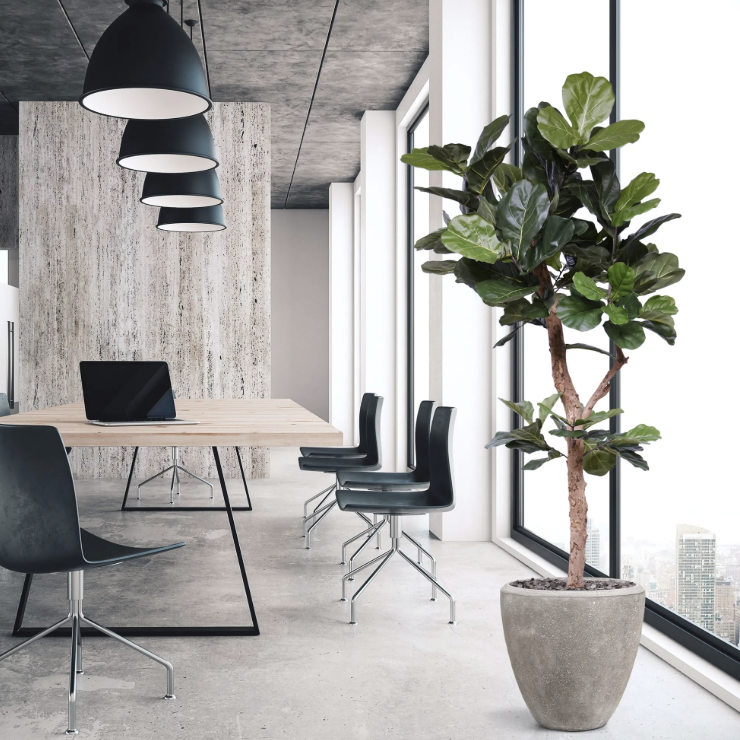
Artificial Lyrata fig tree (210 cm)
How to select a pot or planter
When it comes to living plants, choosing a pot can be tricky, it has to look good and support healthy growth. With artificial plants, things are much simpler. You don’t have to worry about soil, drainage, or watering needs. Instead, you can focus purely on style, size, and how well the planter fits your space.
There’s a huge variety of options available, from classic clay and porcelain to sleek glass or lightweight plastic. The key is to choose a pot that complements your interior and suits the proportions of the plant. Too small, and the plant may look unstable; too big, and it can appear lost inside the planter. Aim for balance, and let the pot highlight the beauty of your artificial plant while blending seamlessly with your décor.
Like we said, with living plants, not every pot is suitable because the material, size, and design all have to match the plant’s needs. For example, orchids are often placed in glass pots so their roots get more light and photosynthesis is improved. Many plants also require pots with drainage holes to prevent excess water and allow roots to breathe.
The good news with artificial plants is that you don’t have to worry about any of this. You’re free to choose a planter purely based on style and proportions, which means you can focus on what looks best in your home without compromising the plant’s “well-being.”
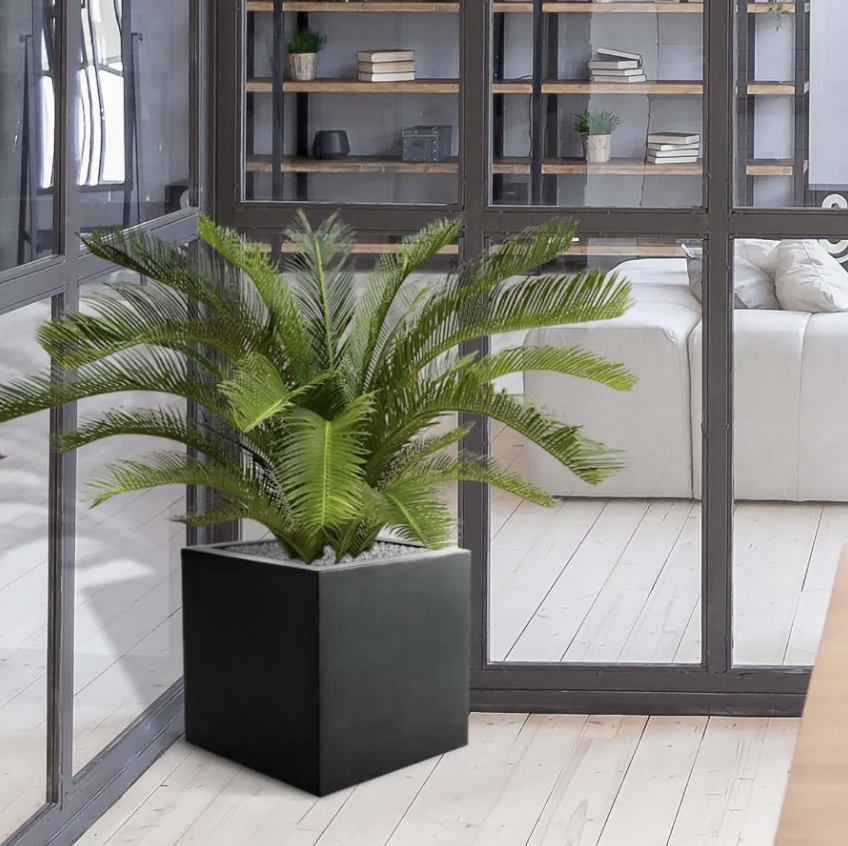
Artificial Cycas Palm (80 cm) UV
How to fill your decorative pot
If you’re unsure about the exact pot size, it’s better to choose one slightly larger rather than too small. A pot that’s too tight may be unstable, especially for bigger trees, while a larger pot can easily be adjusted with filler.
To raise the base of a pot that’s too deep, you can use simple materials like cardboard, paper, or even place an old pot upside down inside. Sand or gravel also work well to fill empty space and help keep the plant secure.
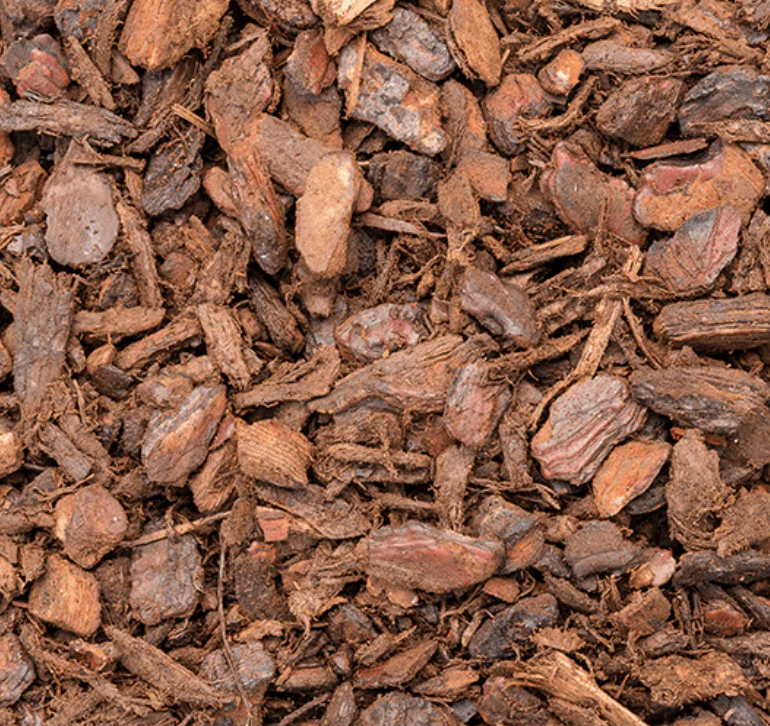
For the finishing touch, we recommend adding a decorative top layer. Our wood bark chips (10–25 mm) are a great option, they not only keep the plant stable but also give a natural, stylish look.
Need more advice? We’re happy to help! Reach out to us at [email protected] or through our contact page.
